Build a free blog on Azure with NodeJS, Azure StaticWebApps & AzureDevops Pipelines.

Intro
The Gatsby framework allows people to easily make websites built from templates based on NodeJS. What isn't easy however is deploying this into Azure, this guide seeks to solve that problem! This setup tutorial aims to help you deploy an automated blog to AzureStaticWebApp with the following features:
- A local development environment on your laptop for editing NodeJS Gatsby blog templates
- Free Azure hosting infrastructure for hosting blogs
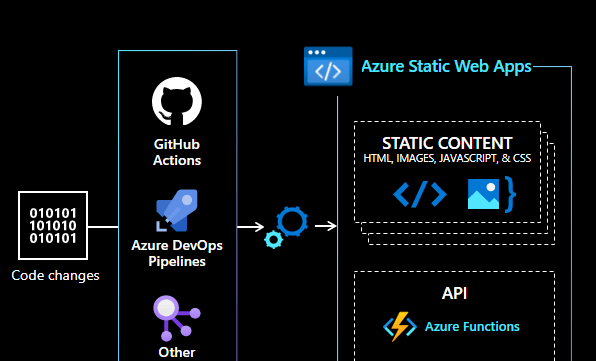
- A CI/CD pipeline to automatically build and deploy the web app from the source files stored in a repository to an Azure environment.
This took me some troubleshooting to get working. The issue is that the documentation from Microsoft with the AzureDevops pipeline task that builds and deploys the site to Azure does not function correctly. The fix for this was to create a deployment pipeline that builds the web app from the source files separately and then use the AzureStaticWebApp pipeline task to just deploy the built web app from an artefact from the build pipeline.
Let's get started...
Pre-Requisites
To follow along with this guide you will need the following:
- An Azure Subscription with permissions to create resources for configuring the AzureStaticWebApp resource.
- A free tier Azure Devops organisation for the source code repository and build and deployment pipelines
Install Local Software
Start by downloading the needed software onto your laptop by copying the below commands. This is specifically for macOS, but if you are on Windows these utilities can be installed using scoop. For this guide, I am using Visual Studio Code as my IDE as it integrates nicely with AzureDevops.
brew install azure-cli- Powershell7
brew install powershell- NPM (node package manager)
brew install node- git
brew install gitConfigure git
To be able to push locally commited files to a repository from your client you are going to need to configure the default git commands.
You can verify this is configured correctly with the commands git config --list.
Make Folders
Copy and execute in your shell terminal the below commands. This is to create the local folders needed for the web site source files on your client.
pwsh
$localrepopath = New-Item -Type Directory -Path ($home+'\cloudseedprojects\automated-azurestaticwebapp\localrepos\')
Create ADO Project and Repo
Start by logging into Azure with the azcli and creating an Azure DevOps project and repository to store the web app source code and host the pipelines.
$devopsorgname = 'your-devops-orgname'
$devopsorgname = ('https://dev.azure.com/'+$devopsorgname)

az login

$devopsproject = az devops project create --name "azure-blogstaticwebapp" --description "Repository storing the source code for a webapp blog" --org $devopsorgname --source-control git --visibility private | convertfrom-json


$devopsrepo = az repos create --name 'nodejs-gatsby-blog' --org $devopsorgname --project $devopsproject.name | convertfrom-json
Import Blog Template
Find a Gatsby template you like the look of from a site such as gatsbyjs. In this example I am going to use the gatsby starter WordPress template, the source code is found here on github.
When you have the git HTTPS URL of the source repo template, run the below command to import the source files into the azure DevOps repo that was just created.
$repourl = "https://github.com/gatsbyjs/gatsby-starter-wordpress-blog"
az repos import create --git-url $repourl --org $devopsorgname -p $devopsproject.name -r $devopsrepo.name
Clone ADO Repo to Client
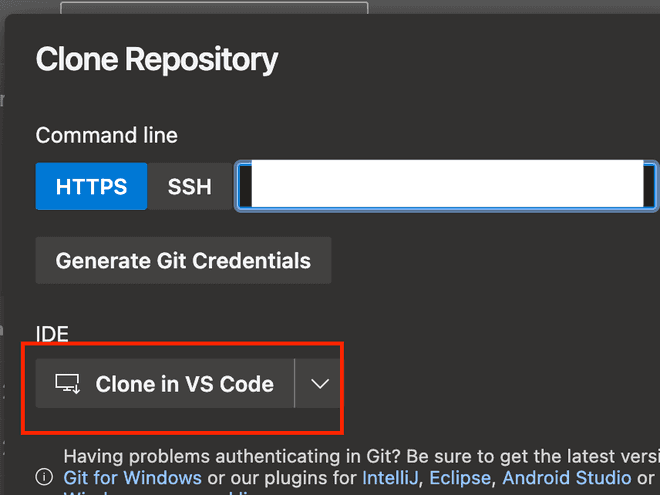
Clone the Azure DevOps Repository to your local client, in my case the path is '/Users/alx/cloudseedprojects/automated-azurestaticwebapp/localrepos' with Visual Studio code.

Install Node Packages Locally
With vscode open in the newly cloned azure DevOps repository, open a terminal and use the below commands to install the gatsby nodejs framework used to run the site locally. Once installed launch a locally running version of the site on your client to check it will build correctly.
- Install gatsby nodejs framework globally with npm.
npm install gatsby-cli -g- Install required nodejs packages locally
npm install - Launch local development server
gatsby develop Once you run the gatsby develop command you can open the built site at https://localhost:8000
Create AzureStaticWebApp in Azure
Use the below azcli commands to create an azure static web app resource and extract the needed API key. This is to be able to deploy the web app to the Azure static web app. Edit the variables to select the required region and change the name of the static web app.
$region = 'westeurope'
$yourname = 'alx'
$rg = az group create -l $region -g azurestaticwebapp-blog-test-rg | convertfrom-json
$aswa = az staticwebapp create  -l $region -g $rg.name -n ($yourname+'testblogazurestaticwebappresource') | convertfrom-json
$apikey = (az staticwebapp secrets list --name $aswa.name | convertfrom-json).properties.apikey
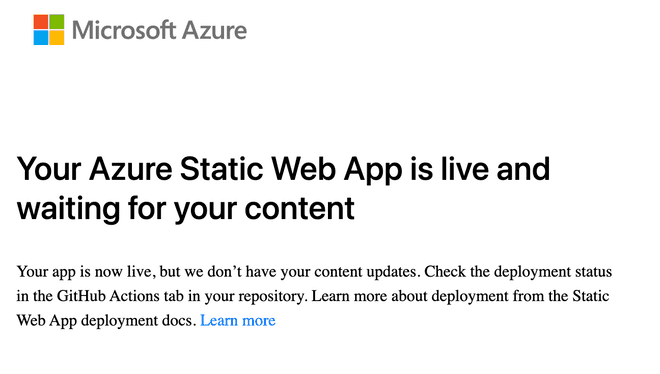
You should be able to browse the static web app's default page when you run $aswa.defaultHostname in the terminal.

Create Pipelines configurations and Push to AzureDevops
In the local repository project folder create 2 new files for the azure devops pipelines.
The first pipeline file will use an Azure Devops pipeline to boot an ubuntu container. This container will copy the source files from the repo and install nodejs 19.x and all the dependancies used to run the site. The built site will be outputted as an artifact called 'app'.
- azure-pipelines-build.yml
# Build pipeline
#https://medium.com/version-1/build-and-deploy-angular-application-to-azure-static-web-app-using-azure-devops-264f846d63f5
trigger:
  branches:
    include:
     - main
  paths:
    exclude:
     - readme.md
pool:
  vmImage: ubuntu-latest
steps:
 - task: NodeTool@0
   displayName: 'Use Node 19.x'
   inputs:
     versionSpec: 19.x
 - script: |
     npm install gatsby-cli -g
   displayName: 'install gatsby cli'
 - task: Npm@1
   displayName: 'npm install '
   inputs:
     workingDir: '$(System.DefaultWorkingDirectory)'
     verbose: false
 - task: Npm@1
   displayName: 'npm build'
   inputs:
     command: custom
     workingDir: '$(System.DefaultWorkingDirectory)'
     verbose: false
     customCommand: 'run build'
 - task: PublishBuildArtifacts@1
   inputs:
     PathtoPublish: 'public'
     ArtifactName: 'app'
     publishLocation: 'Container'
The second deployment pipeline will use a container to take the built nodejs site saved as an artifact from the previous pipeline and deploy it to the Azure static webapp using the API token.
- azure-pipelines-deploy.yml
# Deploy pipeline
#https://github.com/HoussemDellai/Trigger-Pipeline-From-Another-Pipeline
trigger: none
# this pipeline will be triggered by another pipeline
resources:
  pipelines:
  - pipeline: npm-gatsby-blog-build-ci   # Name of the pipeline resource
    source: npm-gatsby-blog-build-ci # Name of the pipeline referenced by the pipeline resource
    trigger: true # enable the trigger
stages:
 - stage: Deploy
   pool:
     vmImage: 'ubuntu-latest'
   jobs:
    - job: DeployWebAppProd
      steps:
       - task: DownloadPipelineArtifact@2
         inputs:
           buildType: 'specific'
           project: '$(project_id)'
           definition: '$(build_pipeline_id)'
           buildVersionToDownload: 'latest'
           artifactName: 'app'
           targetPath: '$(Pipeline.Workspace)'
       - bash: cd $(Pipeline.Workspace); echo $(ls)
       - bash: cd $(Pipeline.Workspace)/app; echo $(ls)
       - task: AzureStaticWebApp@0
         inputs:
           cwd: '$(Pipeline.Workspace)'
           app_location: '/'
           skip_app_build: true
           skip_api_build: true
           verbose: true
         env:
           azure_static_web_apps_api_token: '$(deployment_token)'
Once these files are created in the root of your local cloned repository, commit the files and push them to the main branch in the repo.
Configure the Azure Devops Pipelines
Once the Azure devops pipeline configuration files have been pushed to the azure devops repository the azure devops pipelines can be configured to use the configuration files stored in the repository using the below commands.
$buildpipeline = az pipelines create --org $devopsorgname -p $devopsproject.name --name "npm-gatsby-blog-build-ci" --branch main --description 'Pipeline for build of nodejs site' --repository $devopsrepo.name --yml-path "/azure-pipelines-build.yml" --repository-type tfsgit
$deploypipeline = az pipelines create --org $devopsorgname -p $devopsproject.name --name "npm-gatsby-blog-deploy-cd" --branch main --description 'Pipeline for deployment of nodejs site to azure static web app' --repository $devopsrepo.name --yml-path "/azure-pipelines-deploy.yml" --repository-type tfsgit
For the deployment pipeline to be able to deploy to the Azure Static Web App, the pipeline needs 2 environmental variables called deployment_token and project_id containing the API key of the azure static web app and the GUID of the AzureDevops Project which contains the build artefact. Paste the below command to configure this.
az pipelines variable create --org $devopsorgname -p $devopsproject.name --name "deployment_token" --pipeline-name "npm-gatsby-blog-deploy-cd" --secret "true" --value $apikey
az pipelines variable create --org $devopsorgname -p $devopsproject.name --name "project_id" --pipeline-name "npm-gatsby-blog-deploy-cd" --secret "false" --value ($buildpipeline | ConvertFrom-Json | SELECT -ExpandProperty project).id
az pipelines variable create --org $devopsorgname -p $devopsproject.name --name "build_pipeline_id" --pipeline-name "npm-gatsby-blog-deploy-cd" --secret "false" --value ($buildpipeline | convertfrom-json | select -ExpandProperty definition).id
The pipelines are configured in such a way that the build pipeline is triggered when a new commit is registered on the main branch. The deploy pipeline is then triggered once a successful build pipeline completes to pick up the built web app artefact and deploy it to the azure static web app. Once the deploy pipeline runs you should be able to navigate to the published site and see your newly deployed static blog site! The URL of the site is found in the pipeline deploy run or in the azure static web app resource in azure.
These pipelines allow you to rapidly make changes to your web source files locally and push them to the Azure static web app in an automated way!
And thats all, happy blogging!
Links
Additional sites used for building this post.
